Nu Gundam (BG) vs Strike Freedom (BW)
30 Aug 2026, 21:20 · engine 0.1.0 · pilot mode: llmAI summary
SERIES RESULT: Nu Gundam (BG) 9-1 Strike Freedom (BW) - two subagent pilots that rewrote their own notebooks after every game (final notebooks: sim/live/series/notes-p1.md, notes-p2.md). THE ONE RULE THAT DECIDED ALL TEN GAMES: attack EVENT count, not damage. Each unblocked face event breaks ~1 shield regardless of AP; at 0 shields the next unblocked face event ends it. Every race is events vs ready [Blocker]s + shields + base. NU (9 wins): curve cheap bodies from T2 and flood events; pair Amuro ST01-010 on an expendable body as pre-combat removal (When Paired rests an enemy <=5HP printed); fresh deploy + matching pilot = attacks the same turn; keep Nu LR + GD05-085 for the kill turn; four small events close faster than one big one. SF (1 win): structural problem - defense curve starts at L3-4 while BG floods 2-cost bodies from T2. Blockers are a counted resource (below 2 total, deploy instead of attack); NEVER rest both blockers at low shields (three of the nine losses were exactly that); Argama base at <=3 shields absorbs an entire flood event; the LR combo turn is total resources = 8 (deploy GD05-002 + pair GD05-081 in one plan); the lone win came from an Amuro-rest tempo start with the LR landing before the flood. DECK VERDICT: to make SF competitive, add early blocker/Argama density, not more top-end. Cross-check: 1200-game heuristic MC (see the validation batch) - the doctrine cannot be expressed as profile knobs (all combos 68-71%); the pilots' edge is per-turn event arithmetic.
T0 · setup
- P1 decides #2: mulligan: Curve hand: Zaku T3, Amuro rest-lock, Re-GZ mount, LR closer
- P2 decides #2: mulligan: Keeps LR, Incident, Archangel and curve; one dead card beats redrawing the package
- P1 shield placed Gundam
- P1 shield placed Zaku Ⅱ
- P1 shield placed Zaku Ⅱ
- P1 shield placed Amuro Ray
- P1 shield placed Amuro Ray
- P1 shield placed Re-GZ
- P2 shield placed Rick Dias
- P2 shield placed Strike Rouge (Ootori)
- P2 shield placed Sword Strike Gundam
- P2 shield placed Overflowing Affection
- P2 shield placed Kira Yamato
- P2 shield placed Gundam Lfrith
- · first player ×1 (p2)
T1 · Strike Freedom (BW)(board at end of turn)
 BASE3/3
BASE3/3
BASE3/3
- P2 turn (P2 turn 1)
- P2 decides #2: action: T1, one resource; saving every resource for the L8 bank
T2 · Nu Gundam (BG)(board at end of turn)
BASE3/3
BASE3/3
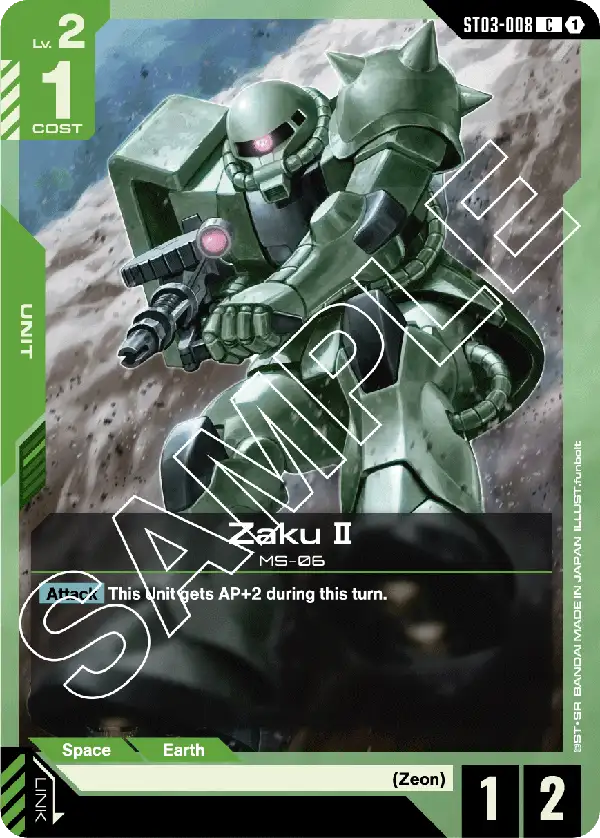 1/2
1/2
1/2
1/2
- P1 turn (P1 turn 2)
- P1 decides #1: play: Zaku T2 body; second if payable
- P1 deploys Zaku Ⅱ ×1 (cost=1)
- P1 decides #1: play: Zaku T2 body; second if payable
- P1 EX spent ×1
- P1 deploys Zaku Ⅱ ×1 (cost=1)
- P2 decides #2: action: One resource total; nothing castable, banking for the curve
T3 · Strike Freedom (BW)(board at end of turn)
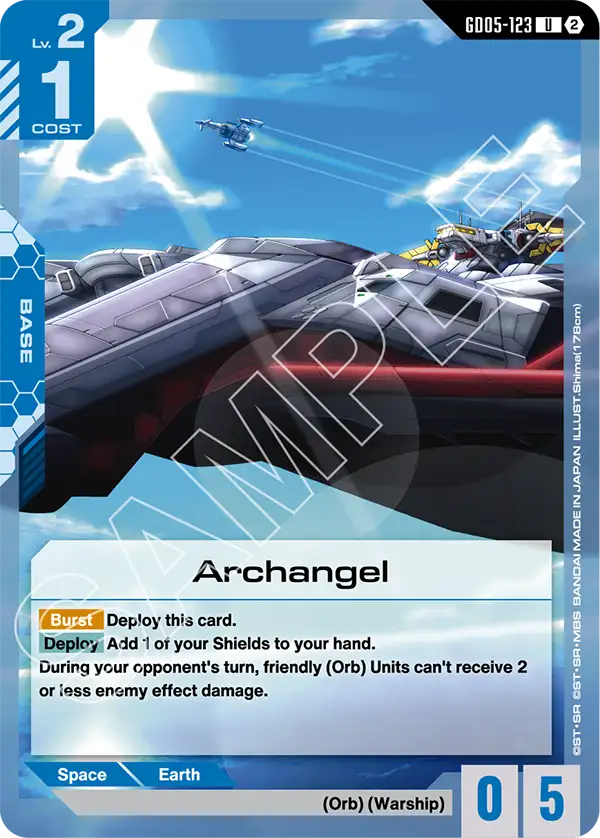 BASE5/5
BASE3/3
1/2
1/2
BASE5/5
BASE3/3
1/2
1/2
- P2 turn (P2 turn 3)
- P2 decides #2: play: One-resource 5HP wall soaks a whole attack and protects the shield count
- P2 base replaced EXB-0
- P2 base Archangel ×1 (cost=1)
- P2 to hand Gundam Lfrith
- P2 decides #2: play: One-resource 5HP wall soaks a whole attack and protects the shield count
- P2 decides #2: action: Incident still above the level gate; bank
T4 · Nu Gundam (BG)(board at end of turn)
BASE3/3
1/2
1/2
- P1 turn (P1 turn 4)
- P1 plan step skipped ×1 (END (turn expired))
- P1 decides #1: play: No enemy units; face swings strip shields while race is open
- P1 ATTACKS Zaku Ⅱ ×1 (target=player)
- P1 buff/debuff Zaku Ⅱ ×2 (AP+2 this turn)
- P2 decides #2: action: Still below Incident's gate; nothing worth casting at 2
- P2 base damage Archangel ×3
- P1 decides #1: play: No enemy units; face swings strip shields while race is open
- P1 ATTACKS Zaku Ⅱ ×1 (target=player)
- P1 buff/debuff Zaku Ⅱ ×2 (AP+2 this turn)
- P2 decides #2: action: Nothing castable at 2; Archangel is eating the hits as planned
- P2 base damage Archangel ×3
- P2 DESTROYED Archangel
- P2 decides #2: action: Base died doing its job; still nothing castable
T5 · Strike Freedom (BW)(board at end of turn)
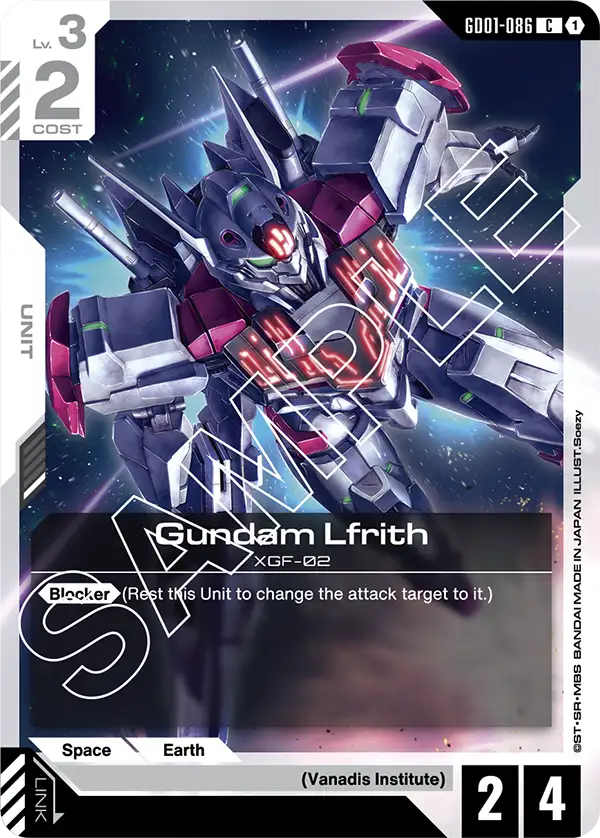 2/4
BASE3/3
1/2
1/2
2/4
BASE3/3
1/2
1/2
- P2 turn (P2 turn 5)
- P2 decides #3: play: Lfrith is the cheapest wall: HP4 survives their piloted AP3 hit
- P2 deploys Gundam Lfrith ×2 (cost=2)
- P2 decides #3: play: Lfrith is the cheapest wall: HP4 survives their piloted AP3 hit
- P2 decides #2: action: Lfrith up; saving resources
T6 · Nu Gundam (BG)(board at end of turn)
−3
2/1
BASE3/3
1/2
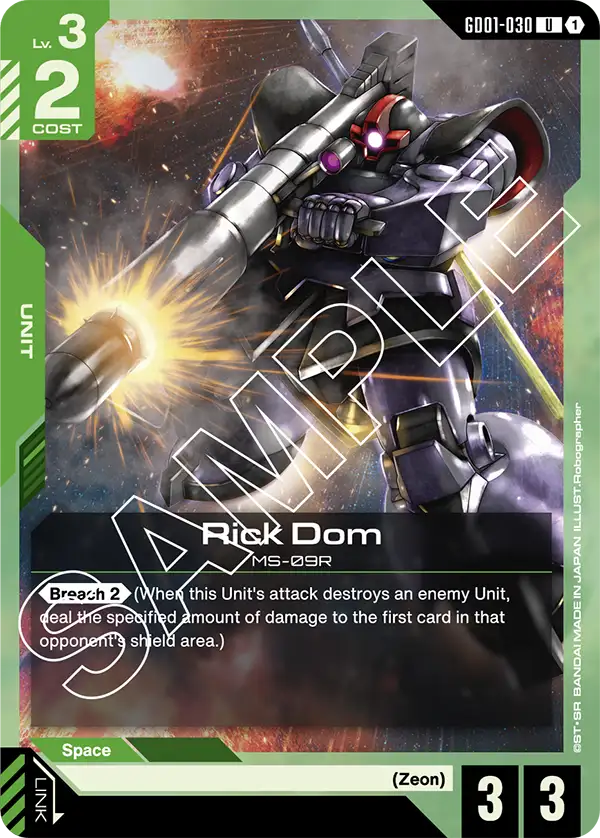 3/3
3/3
- P1 turn (P1 turn 6)
- P1 plan step skipped ×1 (END (turn expired))
- P1 decides #2: play: Rick Dom adds breach body; face swings while only Lfrith walls
- P1 deploys Rick Dom ×2 (cost=2)
- P1 decides #1: play: Rick Dom adds breach body; face swings while only Lfrith walls
- P1 ATTACKS Zaku Ⅱ ×1 (target=player)
- P1 buff/debuff Zaku Ⅱ ×2 (AP+2 this turn)
- P2 decides #1: block: Lfrith kills the 2HP Zaku and survives at 1HP - full trade
- P2 BLOCKS Gundam Lfrith
- P2 decides #2: action: Holding Incident for the AP5 Re-GZ; 5 shields cover the rest
- P1 damage Zaku Ⅱ ×3 (to=GD01-086)
- P2 damage Gundam Lfrith ×2 (to=ST03-008)
- P1 DESTROYED Zaku Ⅱ
- P1 decides #1: play: Rick Dom adds breach body; face swings while only Lfrith walls
- P1 ATTACKS Zaku Ⅱ ×1 (target=player)
- P1 buff/debuff Zaku Ⅱ ×2 (AP+2 this turn)
- P2 decides #2: action: Lfrith traded clean; shields 5 cover remaining attacks
- P2 SHIELD BREAK — the shield was Kira Yamato
- P2 BURST Kira Yamato
- P2 to hand Kira Yamato
- P2 decides #2: action: Shield took the hit; Kira 081 drawn is better spent with a deploy
T7 · Strike Freedom (BW)(board at end of turn)
−3
2/1
 3/3
BASE3/3
1/2
3/3
3/3
BASE3/3
1/2
3/3
- P2 turn (P2 turn 7)
- P2 decides #6: play: Two live blockers beat two incoming attacks; keep banking toward the LR gate
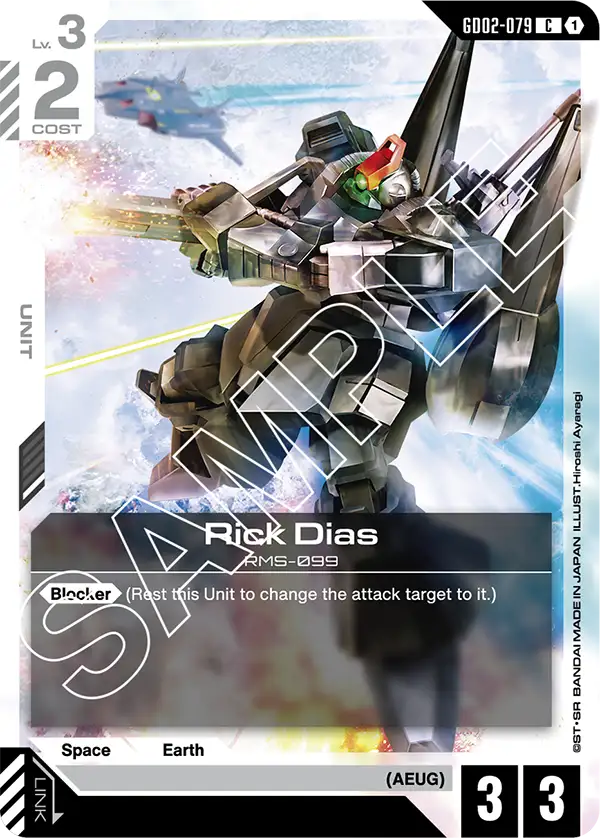
- P2 deploys Rick Dias ×2 (cost=2)
- P2 decides #8: play: Two live blockers beat two incoming attacks; keep banking toward the LR gate
- P2 decides #2: action: Banking; Incident stays for the AP5 pilot
T8 · Nu Gundam (BG)(board at end of turn)
−3
2/1
−2
3/1
BASE3/3
1/2
−3
5/1
 3/3
3/3
- P1 turn (P1 turn 8)
- P1 plan step skipped ×1 (END (turn expired))
- P1 decides #3: play: Amuro on Rick Dom, rest Lfrith, race shields; save 085 for Nu
- P1 pairs Amuro Ray ×1 (to=GD01-030)
- P1 decides #1: target: Lfrith is the 1HP wall; rested = no blocks this turn
- P1 rests Gundam Lfrith (Amuro When Paired)
- P1 decides #1: play: Amuro on Rick Dom, rest Lfrith, race shields; save 085 for Nu
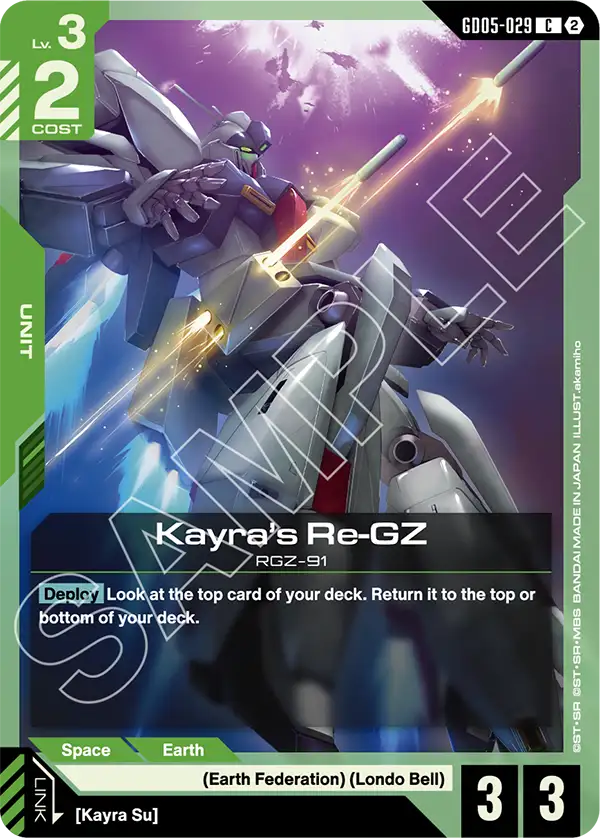
- P1 deploys Kayra's Re-GZ ×2 (cost=2)
- P1 effect Kayra's Re-GZ (scry GD05-017 bottom)
- P1 decides #3: play: Amuro on Rick Dom, rest Lfrith, race shields; save 085 for Nu
- P1 ATTACKS Rick Dom ×5 (target=player)
- P2 decides #1: block: Dias blocks the Dom; Incident in the action step shrinks it to AP2 so both survive
- P2 BLOCKS Rick Dias
- P2 decides #1: action: Incident shrinks the Amuro Dom to AP2 - Dias lives through the block
- P2 action command Unforeseen Incident
- P2 decides #2: target: Shrink the Amuro Dom mid-battle so Dias survives the block
- P2 buff/debuff Rick Dom ×-3 (AP-3 this turn)
- P2 trashed Unforeseen Incident
- P1 damage Rick Dom ×2 (to=GD02-079)
- P2 damage Rick Dias ×3 (to=GD01-030)
- P1 decides #1: play: Amuro on Rick Dom, rest Lfrith, race shields; save 085 for Nu
- P1 ATTACKS Zaku Ⅱ ×1 (target=player)
- P1 buff/debuff Zaku Ⅱ ×2 (AP+2 this turn)
- P2 SHIELD BREAK — the shield was Overflowing Affection
T9 · Strike Freedom (BW)(board at end of turn)
 3/4
BASE3/3
3/3
3/4
BASE3/3
3/3
- P2 turn (P2 turn 9)
- P2 decides #12: play: Spend the two 1HP husks killing their AP5 Dom and Zaku; Ootori becomes the new wall
- P2 ATTACKS Gundam Lfrith ×2 (target=16)
- P2 damage Gundam Lfrith ×2 (to=GD01-030)
- P1 damage Rick Dom ×5 (to=GD01-086)
- P1 DESTROYED Rick Dom
- P2 DESTROYED Gundam Lfrith
- P2 decides #9: play: Spend the two 1HP husks killing their AP5 Dom and Zaku; Ootori becomes the new wall
- P2 ATTACKS Rick Dias ×3 (target=6)
- P2 damage Rick Dias ×3 (to=ST03-008)
- P1 damage Zaku Ⅱ ×1 (to=GD02-079)
- P1 DESTROYED Zaku Ⅱ
- P2 DESTROYED Rick Dias
- P2 decides #3: play: Spend the two 1HP husks killing their AP5 Dom and Zaku; Ootori becomes the new wall
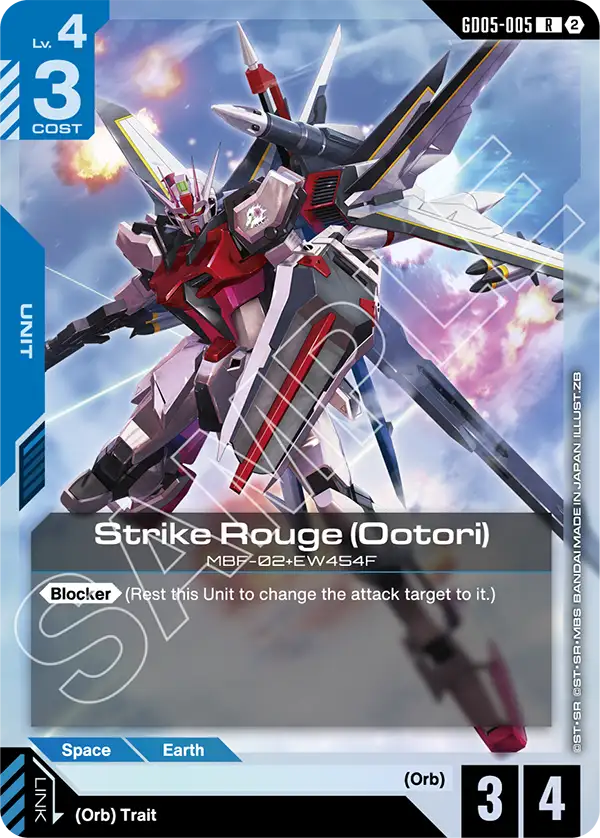
- P2 deploys Strike Rouge (Ootori) ×3 (cost=3)
- P2 decides #5: play: Spend the two 1HP husks killing their AP5 Dom and Zaku; Ootori becomes the new wall
T10 · Nu Gundam (BG)(board at end of turn)
−3
3/1
BASE3/3
 6/4
6/4
- P1 turn (P1 turn 10)
- P1 plan step skipped ×1 (END (turn expired))
- P1 decides #1: play: 6AP link swing on deploy; bank second Amuro for Nu T12
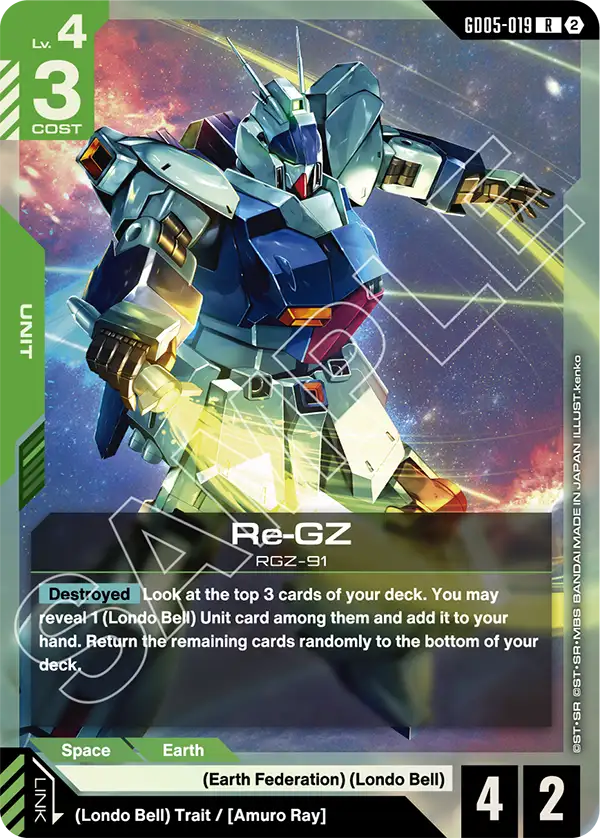
- P1 deploys Re-GZ ×3 (cost=3)
- P1 decides #2: play: 6AP link swing on deploy; bank second Amuro for Nu T12
- P1 pairs Amuro Ray ×1 (to=GD05-019)
- P1 decides #3: play: 6AP link swing on deploy; bank second Amuro for Nu T12
- P1 ATTACKS Re-GZ ×6 (target=player)
- P2 decides #2: block: Ootori dies for nothing vs AP6; one shield is cheaper - save him to kill Kayla's AP3
- P2 SHIELD BREAK — the shield was Sword Strike Gundam
- P1 decides #2: play: 6AP link swing on deploy; bank second Amuro for Nu T12
- P1 ATTACKS Kayra's Re-GZ ×3 (target=player)
- P2 decides #1: block: Ootori kills the AP3 and survives at 1HP - clean wall trade
- P2 BLOCKS Strike Rouge (Ootori)
- P1 damage Kayra's Re-GZ ×3 (to=GD05-005)
- P2 damage Strike Rouge (Ootori) ×3 (to=GD05-029)
- P1 DESTROYED Kayra's Re-GZ
T11 · Strike Freedom (BW)(board at end of turn)
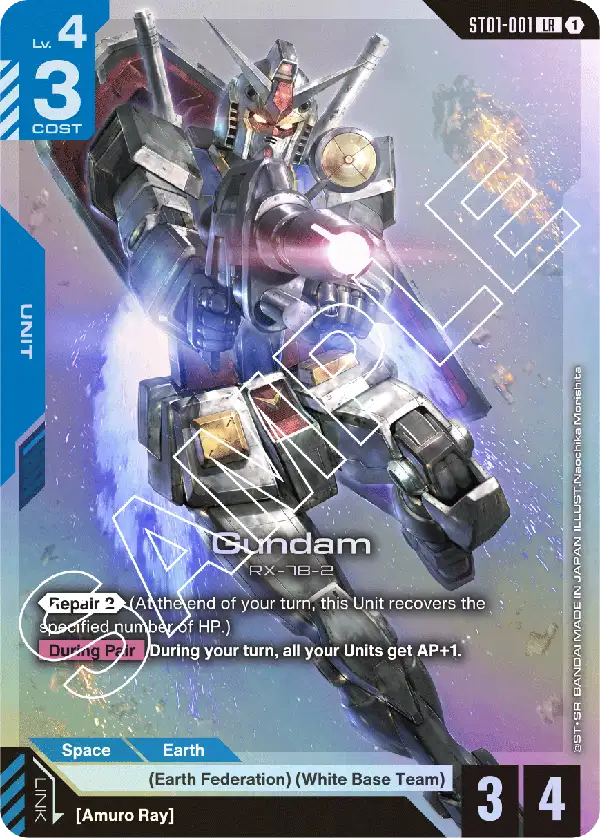 3/4
BASE3/3
3/4
BASE3/3
- P2 turn (P2 turn 11)
- P2 decides #4: play: Kira links Ootori to kill their AP6 Amuro-Re-GZ in a trade I survive long-term; Gundam is the next wall
- P2 pairs Kira Yamato ×1 (to=GD05-005)
- P2 decides #6: play: Kira links Ootori to kill their AP6 Amuro-Re-GZ in a trade I survive long-term; Gundam is the next wall
- P2 ATTACKS Strike Rouge (Ootori) ×5 (target=28)
- P2 damage Strike Rouge (Ootori) ×5 (to=GD05-019)
- P1 damage Re-GZ ×6 (to=GD05-005)
- P1 DESTROYED Re-GZ
- P1 to hand Re-GZ
- P1 effect Re-GZ (tutored GD05-019)
- P2 DESTROYED Strike Rouge (Ootori)
- P2 decides #2: play: Kira links Ootori to kill their AP6 Amuro-Re-GZ in a trade I survive long-term; Gundam is the next wall
- P2 deploys Gundam ×3 (cost=3)
- P2 decides #5: play: Kira links Ootori to kill their AP6 Amuro-Re-GZ in a trade I survive long-term; Gundam is the next wall
T12 · Nu Gundam (BG)(board at end of turn)
3/4
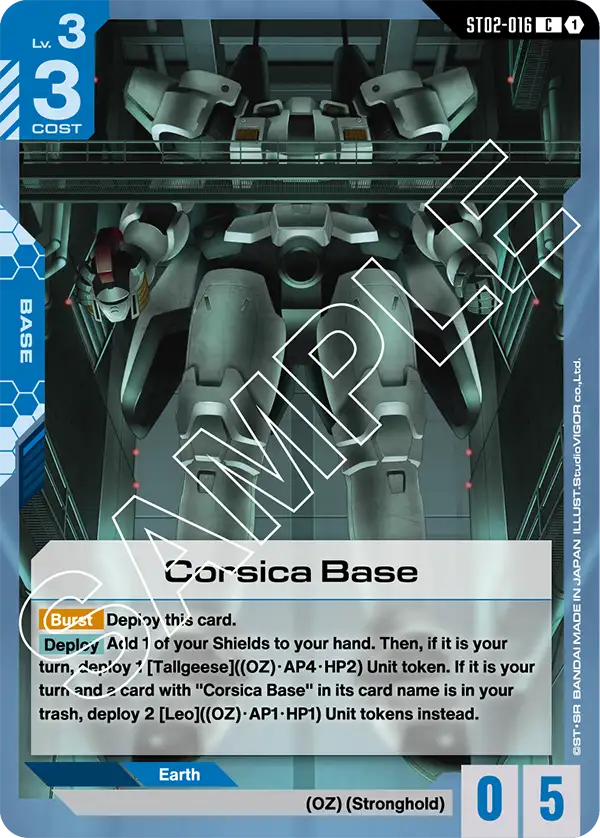 BASE5/5
 4/2
4/2
4/2
4/2
- P1 turn (P1 turn 12)
- P1 plan step skipped ×1 (END (turn expired))
- P1 decides #2: play: Board-build; bank Amuro for Nu T13 lethal trio
- P1 base replaced EXB-0
- P1 base Corsica Base ×3 (cost=3)
- P1 to hand Re-GZ
- P1 deploys TOK-TALLGEESE (token)
- P1 decides #2: play: Board-build; bank Amuro for Nu T13 lethal trio
- P1 deploys Re-GZ ×3 (cost=3)
T13 · Strike Freedom (BW)(board at end of turn)
6/5
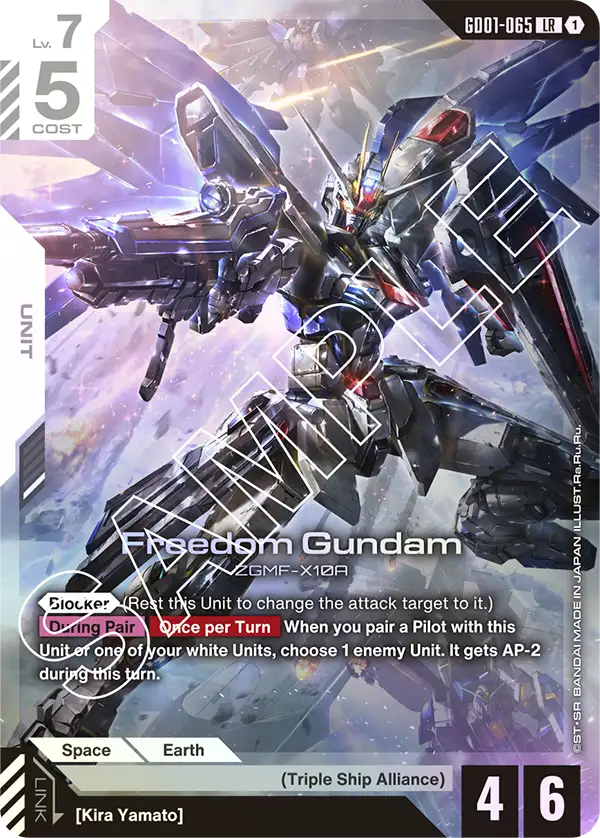 5/6
BASE5/5
4/2
4/2
5/6
BASE5/5
4/2
4/2
- P2 turn (P2 turn 13)
- P2 decides #5: play: Amuro rests the fresh Tallgeese; Freedom blocker HP6 eats the other attacker and shields hold
- P2 pairs Amuro Ray ×1 (to=ST01-001)
- P2 decides #1: target: Rest the Tallgeese - halves their attacker count for free
- P2 rests TOK-TALLGEESE (Amuro When Paired)
- P2 decides #4: play: Amuro rests the fresh Tallgeese; Freedom blocker HP6 eats the other attacker and shields hold
- P2 deploys Freedom Gundam ×5 (cost=5)
- P2 decides #7: play: Amuro rests the fresh Tallgeese; Freedom blocker HP6 eats the other attacker and shields hold
T14 · Nu Gundam (BG)(board at end of turn)
5/5
BASE5/5
4/2
4/2
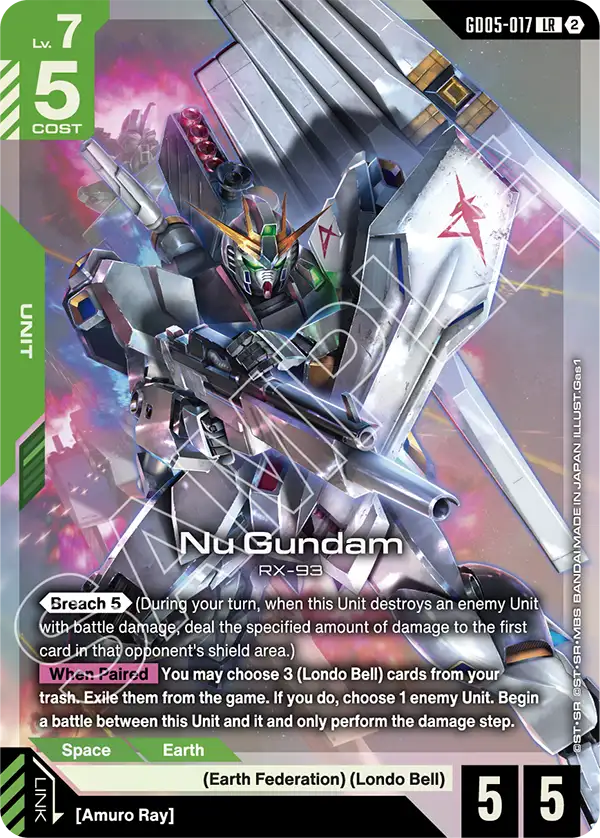 −2
7/5
−2
7/5
- P1 turn (P1 turn 14)
- P1 plan step skipped ×1 (END (turn expired))
- P1 decides #1: play: Nu-first forces blocks; 3 swings through 2 shields is lethal
- P1 deploys Nu Gundam ×5 (cost=5)
- P1 decides #3: play: Nu-first forces blocks; 3 swings through 2 shields is lethal
- P1 pairs Amuro Ray ×1 (to=GD05-017)
- P1 exiled Amuro Ray
- P1 exiled Kayra's Re-GZ
- P1 exiled Re-GZ
- P1 decides #2: target: Rest/disable Freedom; it's the wall that blocks the lethal swing
- P1 ATTACKS Nu Gundam ×7 (instant=GD01-065)
- P1 damage Nu Gundam ×7 (to=GD01-065)
- P2 damage Freedom Gundam ×4 (to=GD05-017)
- P2 DESTROYED Freedom Gundam
- P1 repairs Nu Gundam ×2 (kill-heal)
- P1 BREACH Nu Gundam ×5 (x=5)
- P2 SHIELD BREAK — the shield was Strike Rouge (Ootori)
- P1 decides #3: play: Nu-first forces blocks; 3 swings through 2 shields is lethal
- P1 ATTACKS Nu Gundam ×7 (target=player)
- P2 SHIELD BREAK — the shield was Rick Dias
- P1 decides #1: play: Nu-first forces blocks; 3 swings through 2 shields is lethal
- P1 ATTACKS TOK-TALLGEESE ×4 (target=player)
- · WIN (shield_empty)